- Sales
Sales
Western Sales
(877) 284-6687 (ext. 1)Eastern Sales
(877) 284-6687 (ext. 2)Central Sales
(877) 284-6687 (ext. 3)Agent List

Solutions

Find an Avi-on solution for any commercial lighting need.
Commissioning
Projects
View completed Avi-on projects and case studies here.

Services
Avi-on provides services for any project ranging from pre-commissioning and remote commissioning to full-service on-site commissioning.
Product Selection

Use this interactive tool to learn which Avi-on products work best in specific applications.
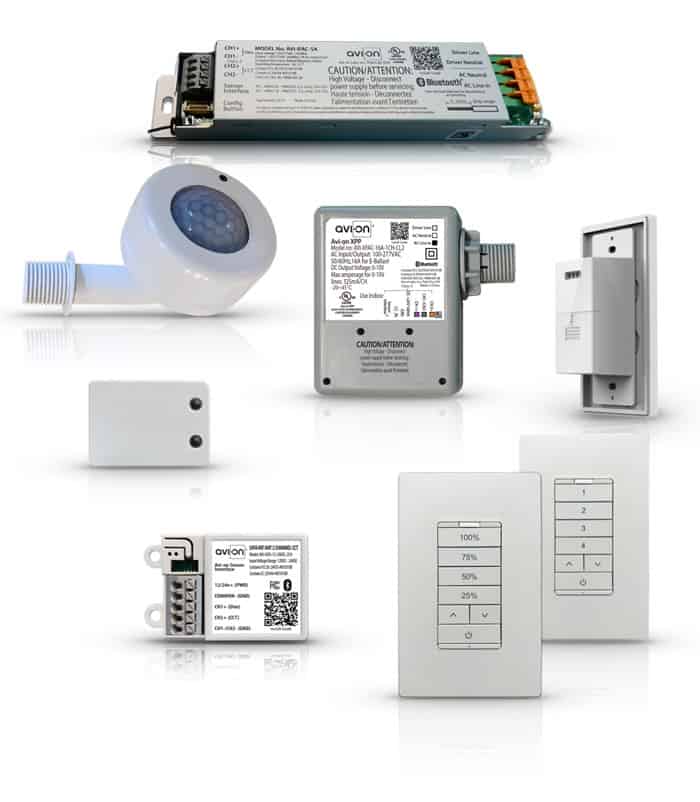
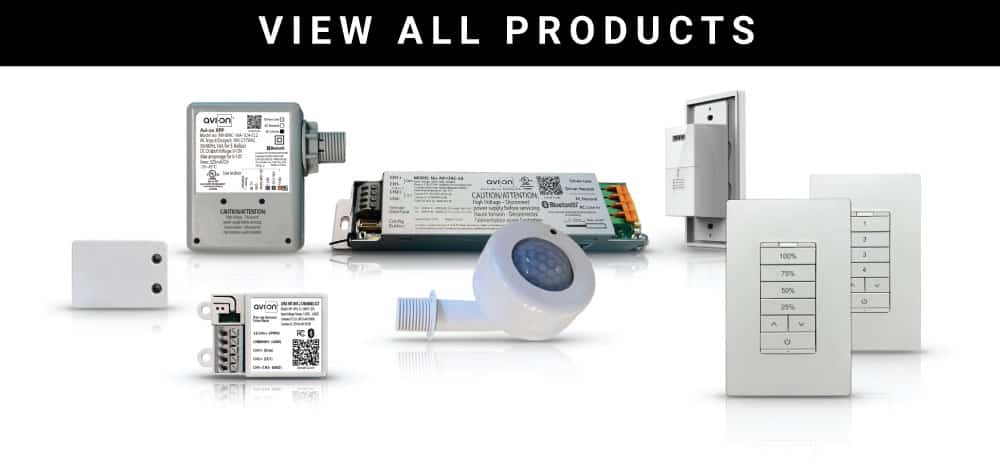
- Products
- Load Controllers
- Sensors
- Wall Stations
- Power Supplies
- Network Accessories
- UL 924 Emergency Lighting
- Hardware Accessories
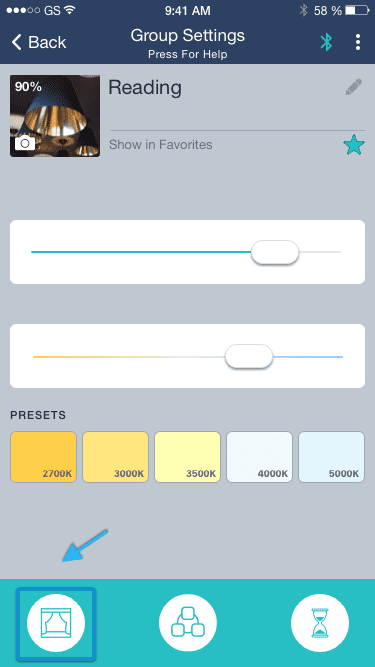
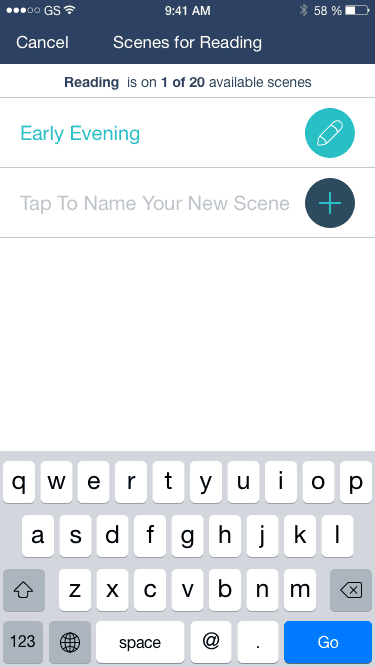
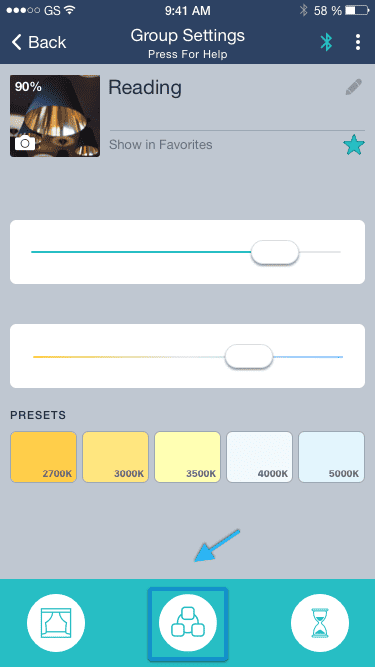
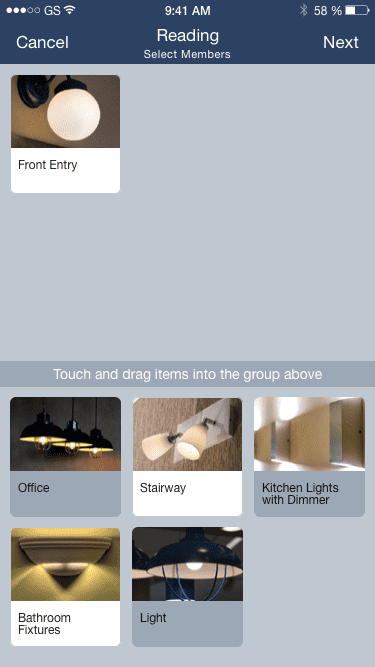
- Avi-on App
FIXTURE & ZONE CONTROLLERS
UL 924

View ALL NETWORK ACCESSORIES
POWER SUPPLIES
WALL STATIONS & SWITCHES
Hardware Accessories
- Resources
- Resources Landing Page
- Videos
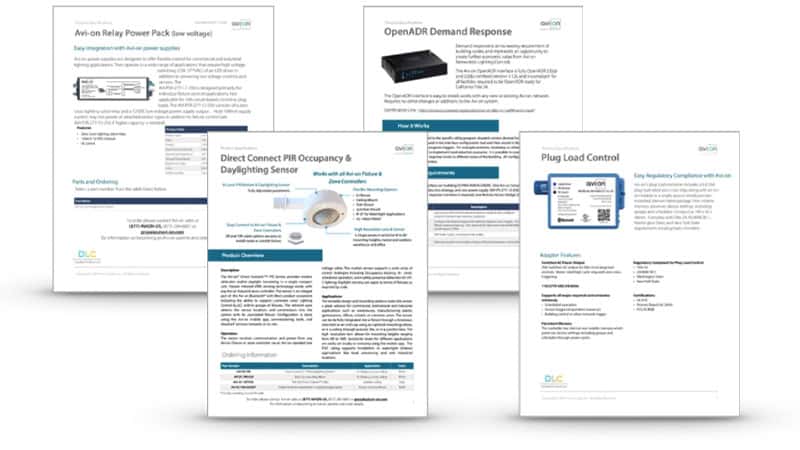
- Data Sheets
- Wiring Diagrams
- White Papers & Documents
- Knowlege Base
- Project Startup Guides
- UL 924 Emergency Lighting
- Training Courses & Certifications

Support Documents
SOLUTION Guides
- Support
Commissioning

For the quickest response, click “Learn More” and fill out the commissioning assistance form.
Commissioning Center
(877) AVION-89
(877) 284-6689Commercial Support
Knowledge Base

Find answers to frequent questions in the Knowledge Base
Return & Exchange Request
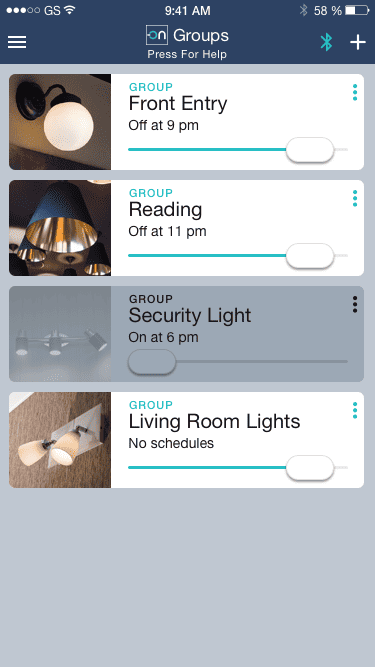
Mobile App
Download it now for free!


Address
Avi-on Headquarters
2700 Rasmussen Rd,
Suite L-10
Park City, UT 84098 - Latest News